I was first introduced to a cheese board a few years back. We were travelling throughout Italy and had stopped in the little town of Monterosso. After a short while exploring the village on foot, we came across this tiny little restaurant in the village square where they were serving the most beautiful cheese board I had ever seen.
The platter itself was different to others we had sampled throughout Italy; it was bright and colorful and contained an array of both fresh and local handcrafted ingredients. I took mental notes as I studied the layout and artistic flare that made this platter what it was. We returned to this restaurant twice more during our stay in Monterosso, each night the platter changed slightly and each time, I fell more and more in love with the city, the people and their way of life.
As soon as we returned home Saturday AKA our market day, became cheese/mezze board days, where our lunch or dinner consisted of a variety of small dishes & fresh produce from our market haul. It’s a tradition that has stuck, and something we enjoy ourselves, and sharing with others.
The common misconception is that a cheese board or even a mezze board is typically ‘unhealthy’ but that couldn’t be further from the truth. I love to put together a cheese and/or mezze board to ensure I always have something to eat in a social situation. Delicious fresh produce, organic cheese and nitrate free meats are the PERFECT meal when entertaining friends.
WHAT YOU NEED
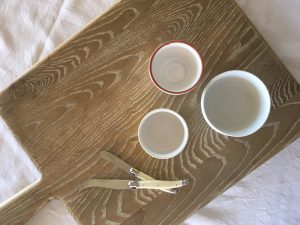 This board will easily feed 5 ppl as a main, or approximately 8 as an entree.
- A large serving board – Wheel & Barrow $89.95 (currently on sale for $60)
- Small bowls (approx. 5)– Wheel & Barrow $4.95-$12.95
- Cheese Knives – These were an engagement gift, but I’m sure Wheel & Barrow will have some 😉
SHOPPING LIST
- 3 different coloured/flavoured dips
- 2 different varieties of olives
- 1 cup fresh blueberries
- 2 different types/styles of biscuits (GF optional)
- 3 different cheeses – Goats and/or sheep’s preferred, organic dairy (i.e. Derry-O Camembert) varieties. Both hard and soft.
- A bunch of grapes (green preferred for visual reasons)
- Nitrate free meats
- Punnet of fresh strawberries
- 2-3 varieties of nuts
- 2-3 additional types of fresh fruit (figs, cherries, passionfruit, starfruit, pears, apricots)
- 2 handfuls of dried fruit (apricots and apples)
- Dark chocolate and/or chocolate covered nuts etc.
HOW TO BUILD A CHEESEBOARD
 STEP 1 – FILL YOUR BOWLS
When pairing your nibbles with their respective bowls, ensure you have enough ingredients to fill the bowls to the top. A platter has to look plentiful, half filled bowls = platter fail.
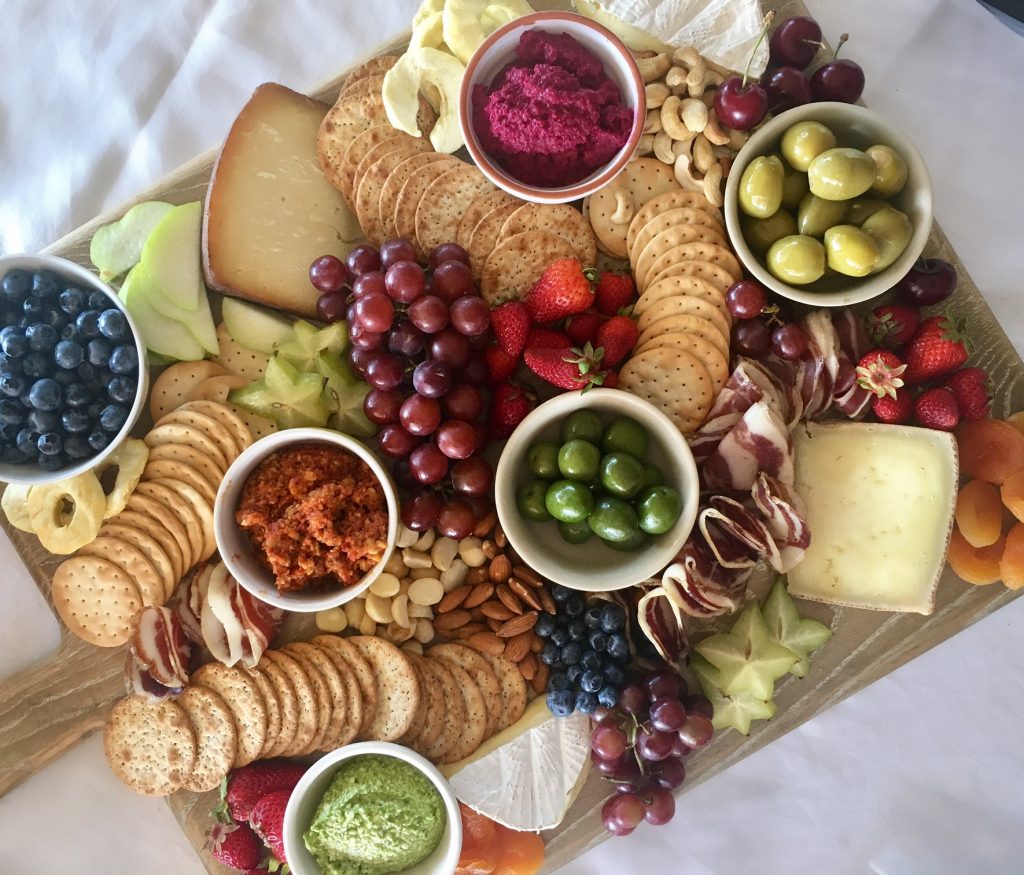
- DIPS – Not part of a traditional cheese board, but ALWAYS a hit. I always purchase 3 different coloured dips, usually opting for beetroot, red capsicum and cashew and basil and feta. Purchasing three different colours will ensure your platter pops visually. Arrange your 3 dips on the board in no real order (view above pic for inspiration), just ensure they aren’t close together.
- OLIVES – Add your olives to the platter, again in no real order (follow the above picture for inspiration).
- BLUEBERRIES – And place your blueberries in the top left hand corner.

STEP 2 – ADD YOUR BISCUITS
No cheese platter is complete without biscuits. I always purchase at least two different varieties of biscuits. Splay them out alongside your dip bowls in a long line. You can even try to arrange them around the dip bowls, in a curved pattern (right).
STEP 3 – ADD YOUR CHEESE
 When purchasing cheese for my platter, I always opt for a variety of easy to digest varieties – i.e. goat’s cheese and/or sheep’s cheese, paired with a single organic dairy option. I always mix it up between hard and soft cheeses for not only visual appeal, but also a variety of taste and texture. When arranging your cheese on the platter, stick to the outskirts of the board (for easy access). Don’t be afraid to cut wheels of cheese in half and/or quarter to fit the board (as I’ve done here).
STEP 4 – ADD YOUR GRAPES
Probably the one piece of Italy I always try to add to the platter whenever possible. For some reason, I prefer green grapes on a platter (visual only), but hey, that might just be me. Arrange your grapes in the center of the board, but to the left or the right (see above image) – never smack bang in the middle, it never seems to work.
 STEP 5 – ADD YOUR MEATS
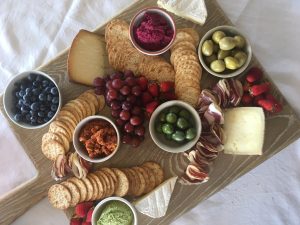
Purchasing nitrate free meat is always important. If you can’t get your hands on some, I’d personally opt to skip it altogether, but hey, that’s me. If you do manage to get your hands on them, folding the slices in half, and then half again, to create not only a feeling of abundance (it always looks like there is more this way), but also helps them stand up, rather than falling flat on the platter. Arrange alongside cheese and biscuits.
STEP 6 – ADD STRAWBERRIES
Depending on what’s in season, start filling 3 x small parts of the board with a colourful fruit and/or veg. Here I’ve opted for fresh strawberries. You want to ensure the board flows visually so make sure the pop colour of choice, follows an (almost) single line (see strawberry pics for inspiration).
 STEP 7 – ADD NUTS
We’re still filling spaces here, so opt for a small handful of nuts in each ‘white space’ and build each quantity accordingly. Be wary that nuts like to run off in each and every direction, so try and pick spaces that are surrounded by other foods.
STEP 8 – ADD FRUITS (FRESH & DRIED)
 FRESH FRUIT: Here I started adding additional fruits (more blueberries, grapes, starfruit, sliced pear) to the board. Fruits like halved figs, passionfruit, cherries and/or apricots also make great additions to the board however were out of season when I was putting this together. Placement solely depends on filling “white space” however; ensure that each coloured fruit i.e. grapes, are separated by at least two other foods for visual appeal.
DRIED FRUIT: My favourites are dried apricots and dried apples, again make sure they are free from preservatives. Arrange as per the fruit above.
STEP 9 – ADD YOUR CHOCOLATE (dessert boards)
Last but not least, add chocolate or chocolate covered macadamias etc. to the board for those with a sweet tooth. Again, this depends on whether or not this board is for dessert or starters, but I can assure you, there are NEVER any chocolate pieces left at the end of the night 😉 Place in the outskirts on the board, in whatever “white space” you have left.
AND VOILA! Your cheese board is done 🙂
I look forward to seeing all of your cheeseboard creations over the festive season! Don’t forget to tag me on social media!




0 Comments